How To Make A Twist Knot Headband
Step By Step Twist Knot Headband Tutorial
Coronavirus Pandemic
I don’t know about you but I have so much nervous energy during this awful Coronavirus pandemic. Whilst we are all in lockdown and confined to our homes for weeks to come I thought I had to turn my attention to something creative. If only to take my mind off things and to try and stay positive. So I thought I would share my Twist Knot Headband Tutorial with you!
Thankfully I have my sewing room where I can pop in and out of during the day to spend a few hours pottering and sewing which is really helping me. Obviously, I am always on hand for my lovely husband, John, who I care for on a full-time basis. So whilst he is resting I use that time to just switch off and be creative. It may be dressmaking, crochet designing or just tidying my sewing room up.
Like all sewists, we usually have lots of fabric hoarding going on and lots of scraps waiting to be transformed into something useful.

Easy Headbands Using Scraps
So yesterday, I thought why not make some headbands? I had quite a bit of jersey fabrics left over from my Somerset T-Shirts and Silene T-Shirt pattern Testing.
They were really pretty and I knew would be perfect for making into Twist Knot Headbands.
I used to make these all the time during the ’80s when I was in my twenties and they were all the rage. When my daughter was born I used to make her them too, she looked so cute in them. That’s when I could get her to keep them on her head!
I made two up yesterday in no time at all and thought I would share how I made them with you.
YouTube Tutorial
If you need visual assistance you can refer to my tutorial on my Youtube channel too!
Materials Needed
The best fabric for this project is obviously a stretch jersey so you can get the headband on and off your head comfortably.
Instructions
Simply measure your head with a tape measure ensuring you place the tape around your head exactly where you would be wearing the headband. The usual circumference of an adult head is 22 -24 inches. Mine is 24″. You then need to deduct 1″ so the headband sits comfortably on your head with enough stretch.
You then need to decide how wide you want your headband to be. Mine is 8″ wide but you can make it thinner or wider depending on the look you want.
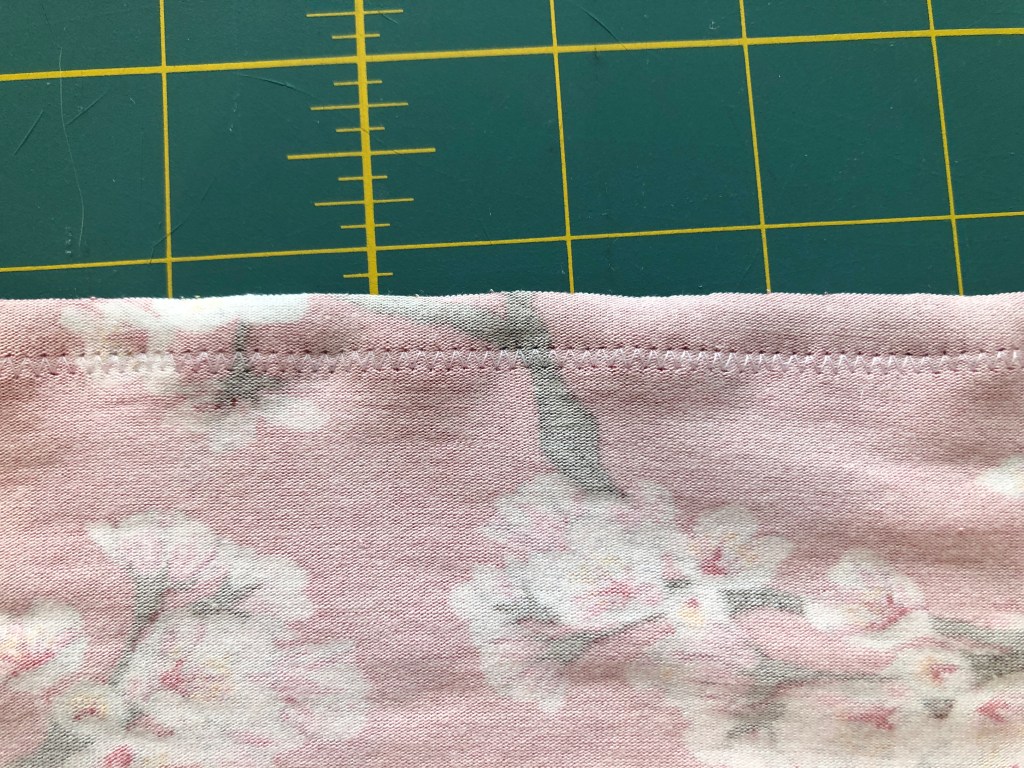
So mine measures 8″ by 23″. You need to cut two pieces the same as your measurements. Give them both a press and fold the wrong sides together along the length and then stitch down both sides using zigzag or lightning stitch. Then you need to turn them both through and place the seams along the middle of the back. Press to flatten.


Then once you have pressed them and the seams are in the centre, place them wrong sides up and form a cross.

Then bring the ends together on the bottom piece and then repeat for the top piece. This is forming the twist section.

Then bring all the short ends together.

So we have 4 ends together and we are going to name them pieces 1, 2, 3, and 4. Next, pin pieces 2 & 3 together. Then pin pieces 1 & 2 together and then bring piece 4 around to the front and place over piece 1, ensuring they are right sides together.

We are going to sew pieces 4 & 1 together along the top and also pieces 2 & 3 together along the top. You can use a straight stitch on your machine now.

Once stitched together, trim the ends. You then need to bring piece 4 over and lay both seams, wrong sides together, so you are making a sandwich. Then, simply stitch along the seam line (stitch in the ditch) this will cover the ends in the sandwich.


That’s it, you have made your twist-knot headband. How easy was that? You can make them in all different sizes. Just measure the head circumference, minus 1″, and then decide your width. I love mine and they are just so pretty to wear.

Hope you enjoyed my Twist Headband Tutorial.
Enjoy!
Jayne